
I am a traditionalist with certain things around the festive season like the light display in our house. Light is a gift from creation to all living things. It is a beautiful and necessary part of our lives. Strike a match, light a candle or flick a switch. Reflections and shadows dance in response to light, and it almost goes without saying that with light comes effect. Light can expose, enlarge, disguise and charm. Light illuminations can soften the mood of a room or brighten dark corners. Well positioned lighting gives life to a room and creates a welcoming atmosphere. Never fear any shadow, for light will be shining somewhere near. And I want to share ‘how to make Christmas candles’ so you too can join in my excitement for this time of the year.
The festive season with all its trimmings always brings cheer to any home. Nostalgia fills one’s thoughts with the smells of Christmas, Christmas puddings, jolly up beat spirits and the sounds of gleeful children around the Christmas tree.
It is a privilege to share some light ideas.
How to make your own Christmas candles
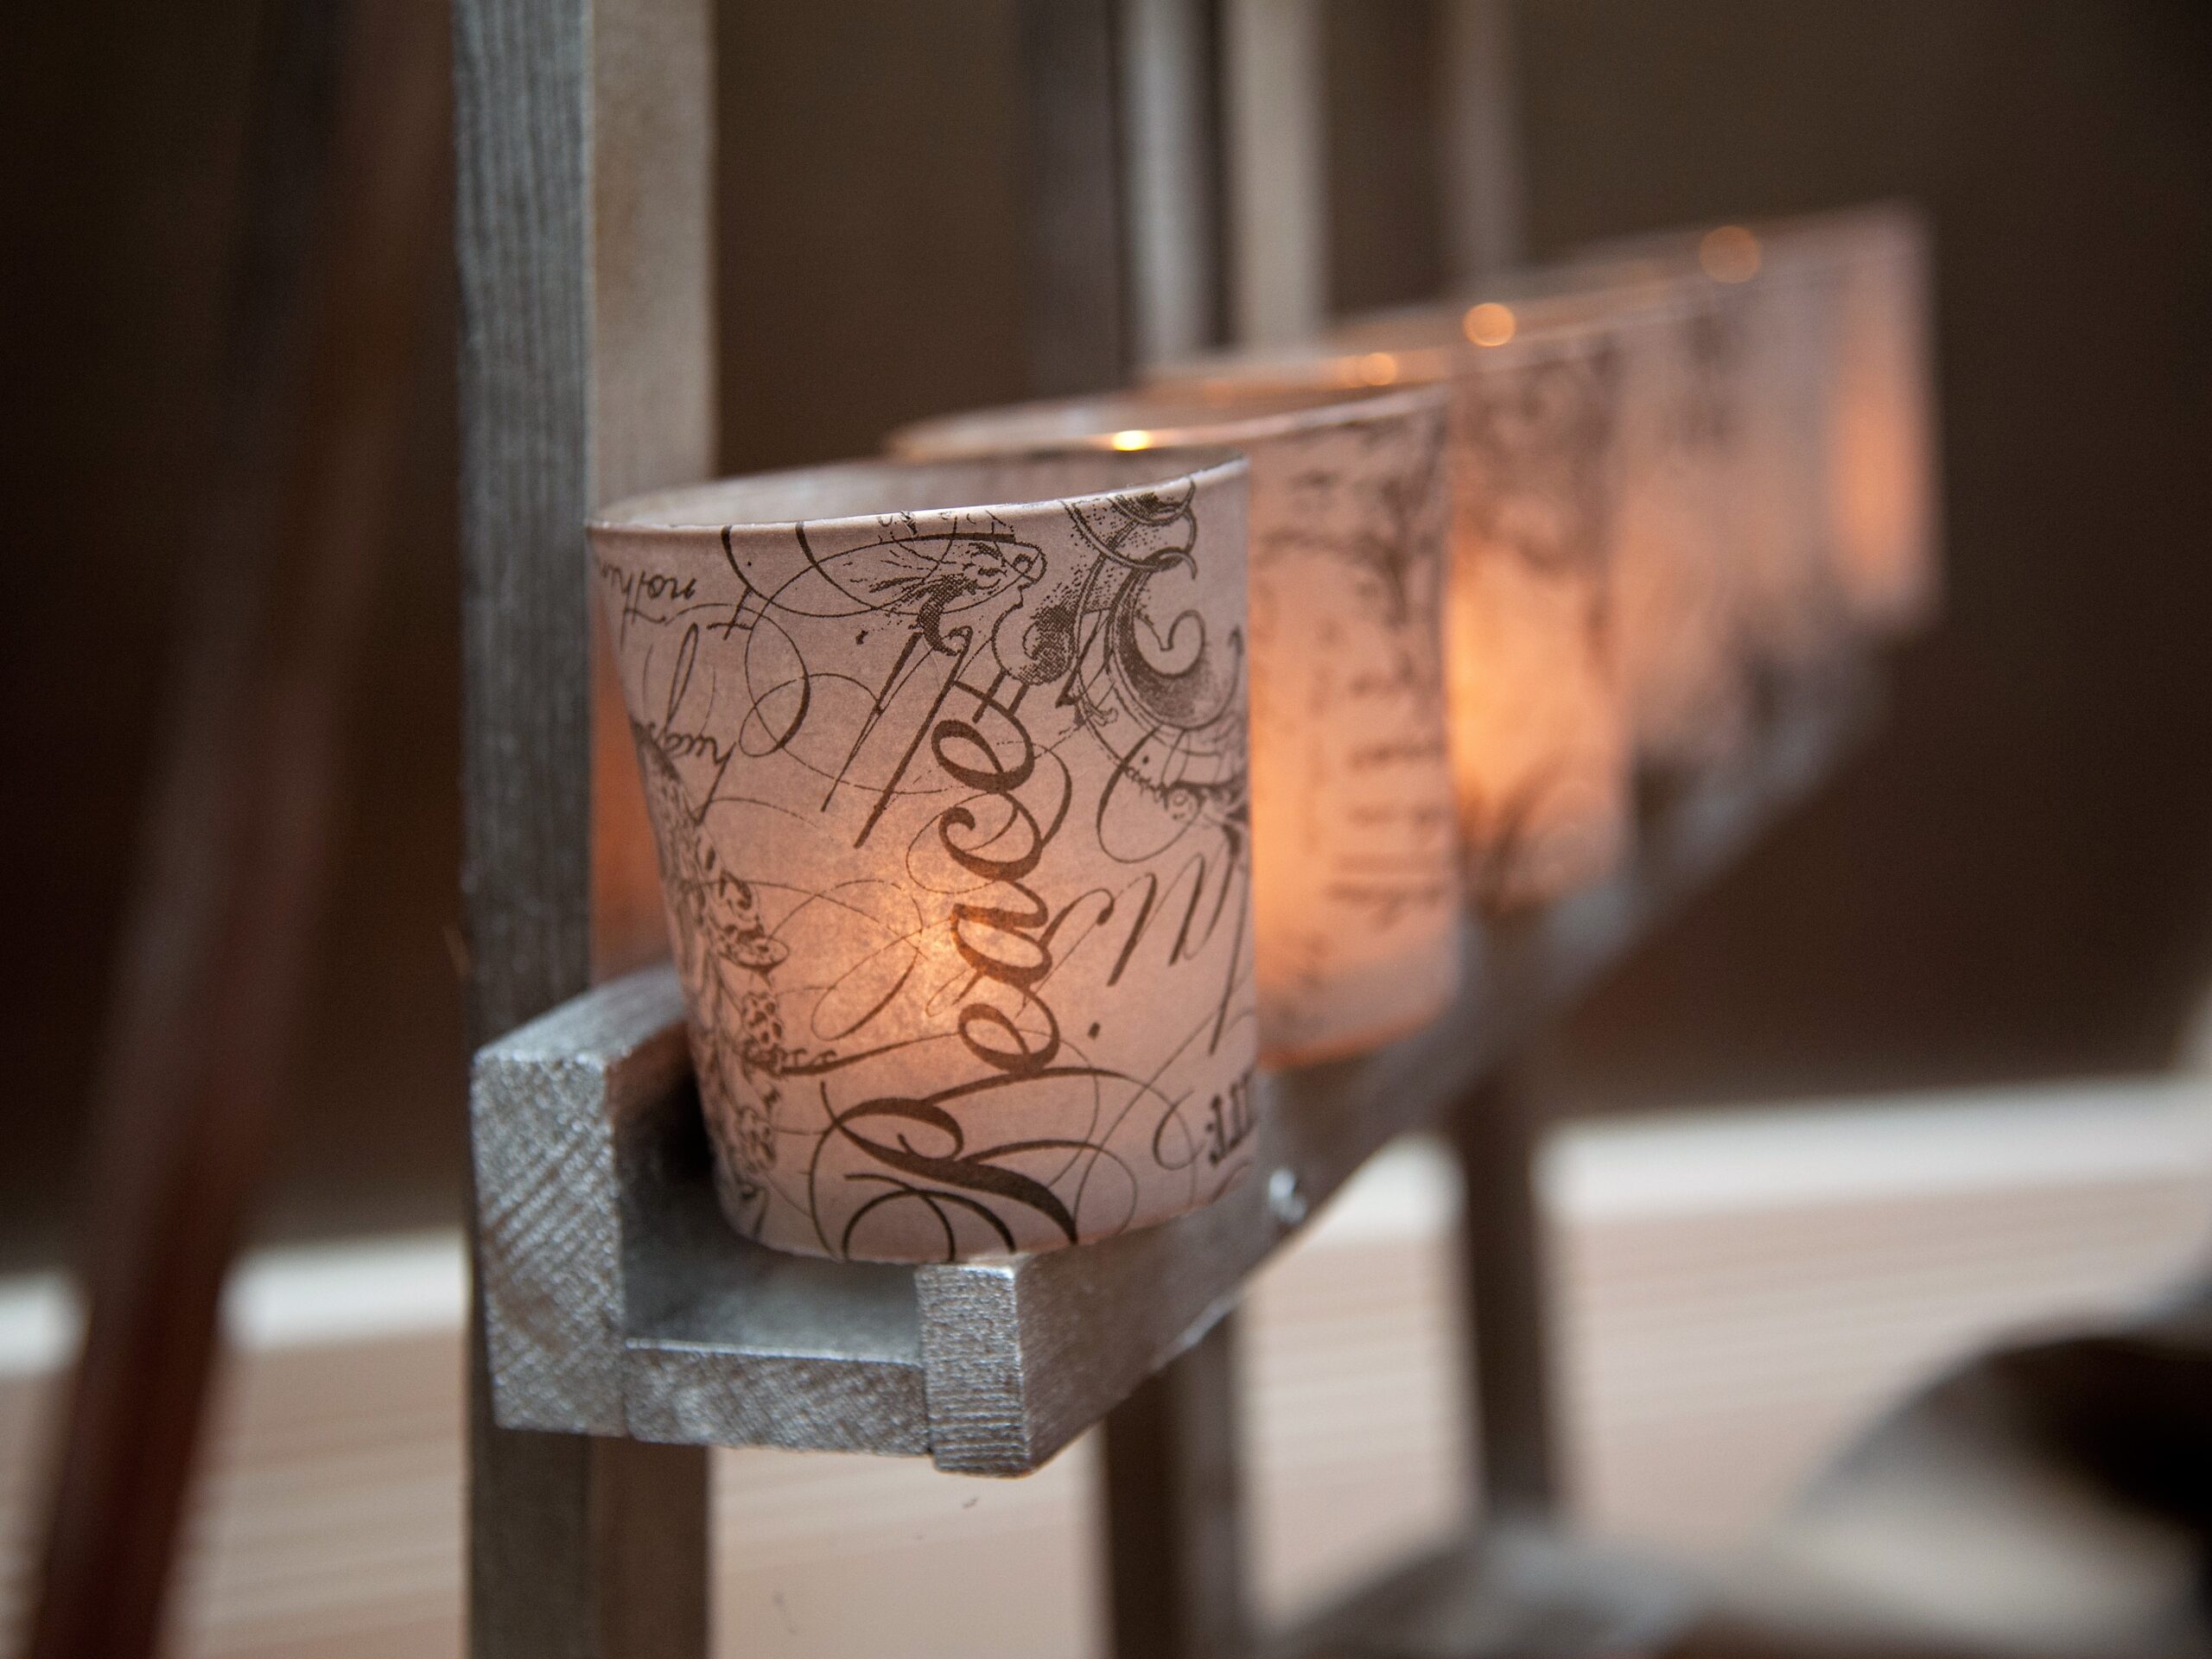
The following items will be required:
- Use old candle wax from broken or short candles, just make sure that you have enough wax before you begin
- A safe heat source (ideally an electric hotplate as an open flame is extremely dangerous near wax)
- An old pot or container for melting the wax in
- Thermometer
- Moulds or containers (tins, glass or ceramic pots)
- Pre-waxed wicks
- A thin wooden stick or kebab stick
- A small sieve
Method
- Firstly, break the wax into small pieces and put the broken-up pieces into the old container you are using to melt the wax in. Heat the old container on the heat source until the wax has melted. Remove old wicks and any debris with a small sieve. Return the pot to the heat source. Place a thermometer in the pot and measure the heat of the wax; it must not exceed 80 °C. Be careful not to add too many colours or scents to your wax as this may result in an unpleasant odour or a spoiled looking candle.
- Pour a drop of the liquid wax into the centre of your mould or container, press a pre-waxed wick onto the soft wax drop. Wait for it to cool and solidify. Place the stick over the opening of the glass pot and twist the end of the wick around the stick to keep it in an upright position.
- In the event that the wax in your melting pot begins to solidify, you can reheat it to a liquid state. Pour the liquid wax slowly into the mould until it’s level at the top.
- Repeat this process until the surface is smooth.
- The new candle is ready for decorating.
How to decorate a candle holder with old napkins
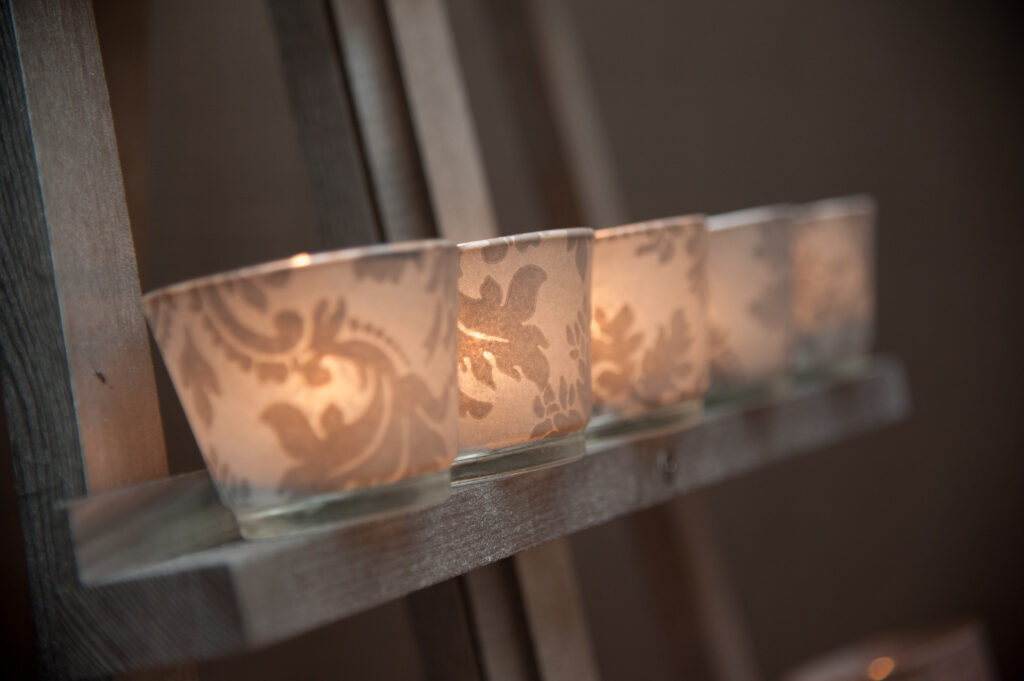
Paper serviettes can be used to embellish a candleholder, and no one will ever know that this beautiful creation is made from paper.
The following recycled items are required:
- Paper napkins (serviettes) with pictures
- Glass or metal candle holder
The following items will also be required:
- Water-based sealant (PVA glue, Modge Podge or napkin sealant)
- A small pair of sharp scissors or a craft knife
- A cutting mat
- Paintbrushes or sponge brushes
- A damp sponge (optional)
Method
- Before you start, please ensure that the outside surface of the holder is clean, smooth and dry.
- Remove the napkin layers from each other until you have one thin layer left.
- Using a pair of sharp scissors cut around the edge of the image on the napkin. If the pattern on the serviette is an intricate one, you may prefer to use a craft knife and a cutting mat.
- Arrange your image in the design of your choice.
- When you are satisfied with your layout, paint some sealant on the reverse side of your picture. Place it in position, press down gently. Smooth away any air bubbles and excess sealant by gently rubbing your fingers over it. Work carefully to avoid the serviette from tearing. Repeat this process until your holder is covered.
- Allow the pictures to dry overnight.
How to make a tree display from tealight votives
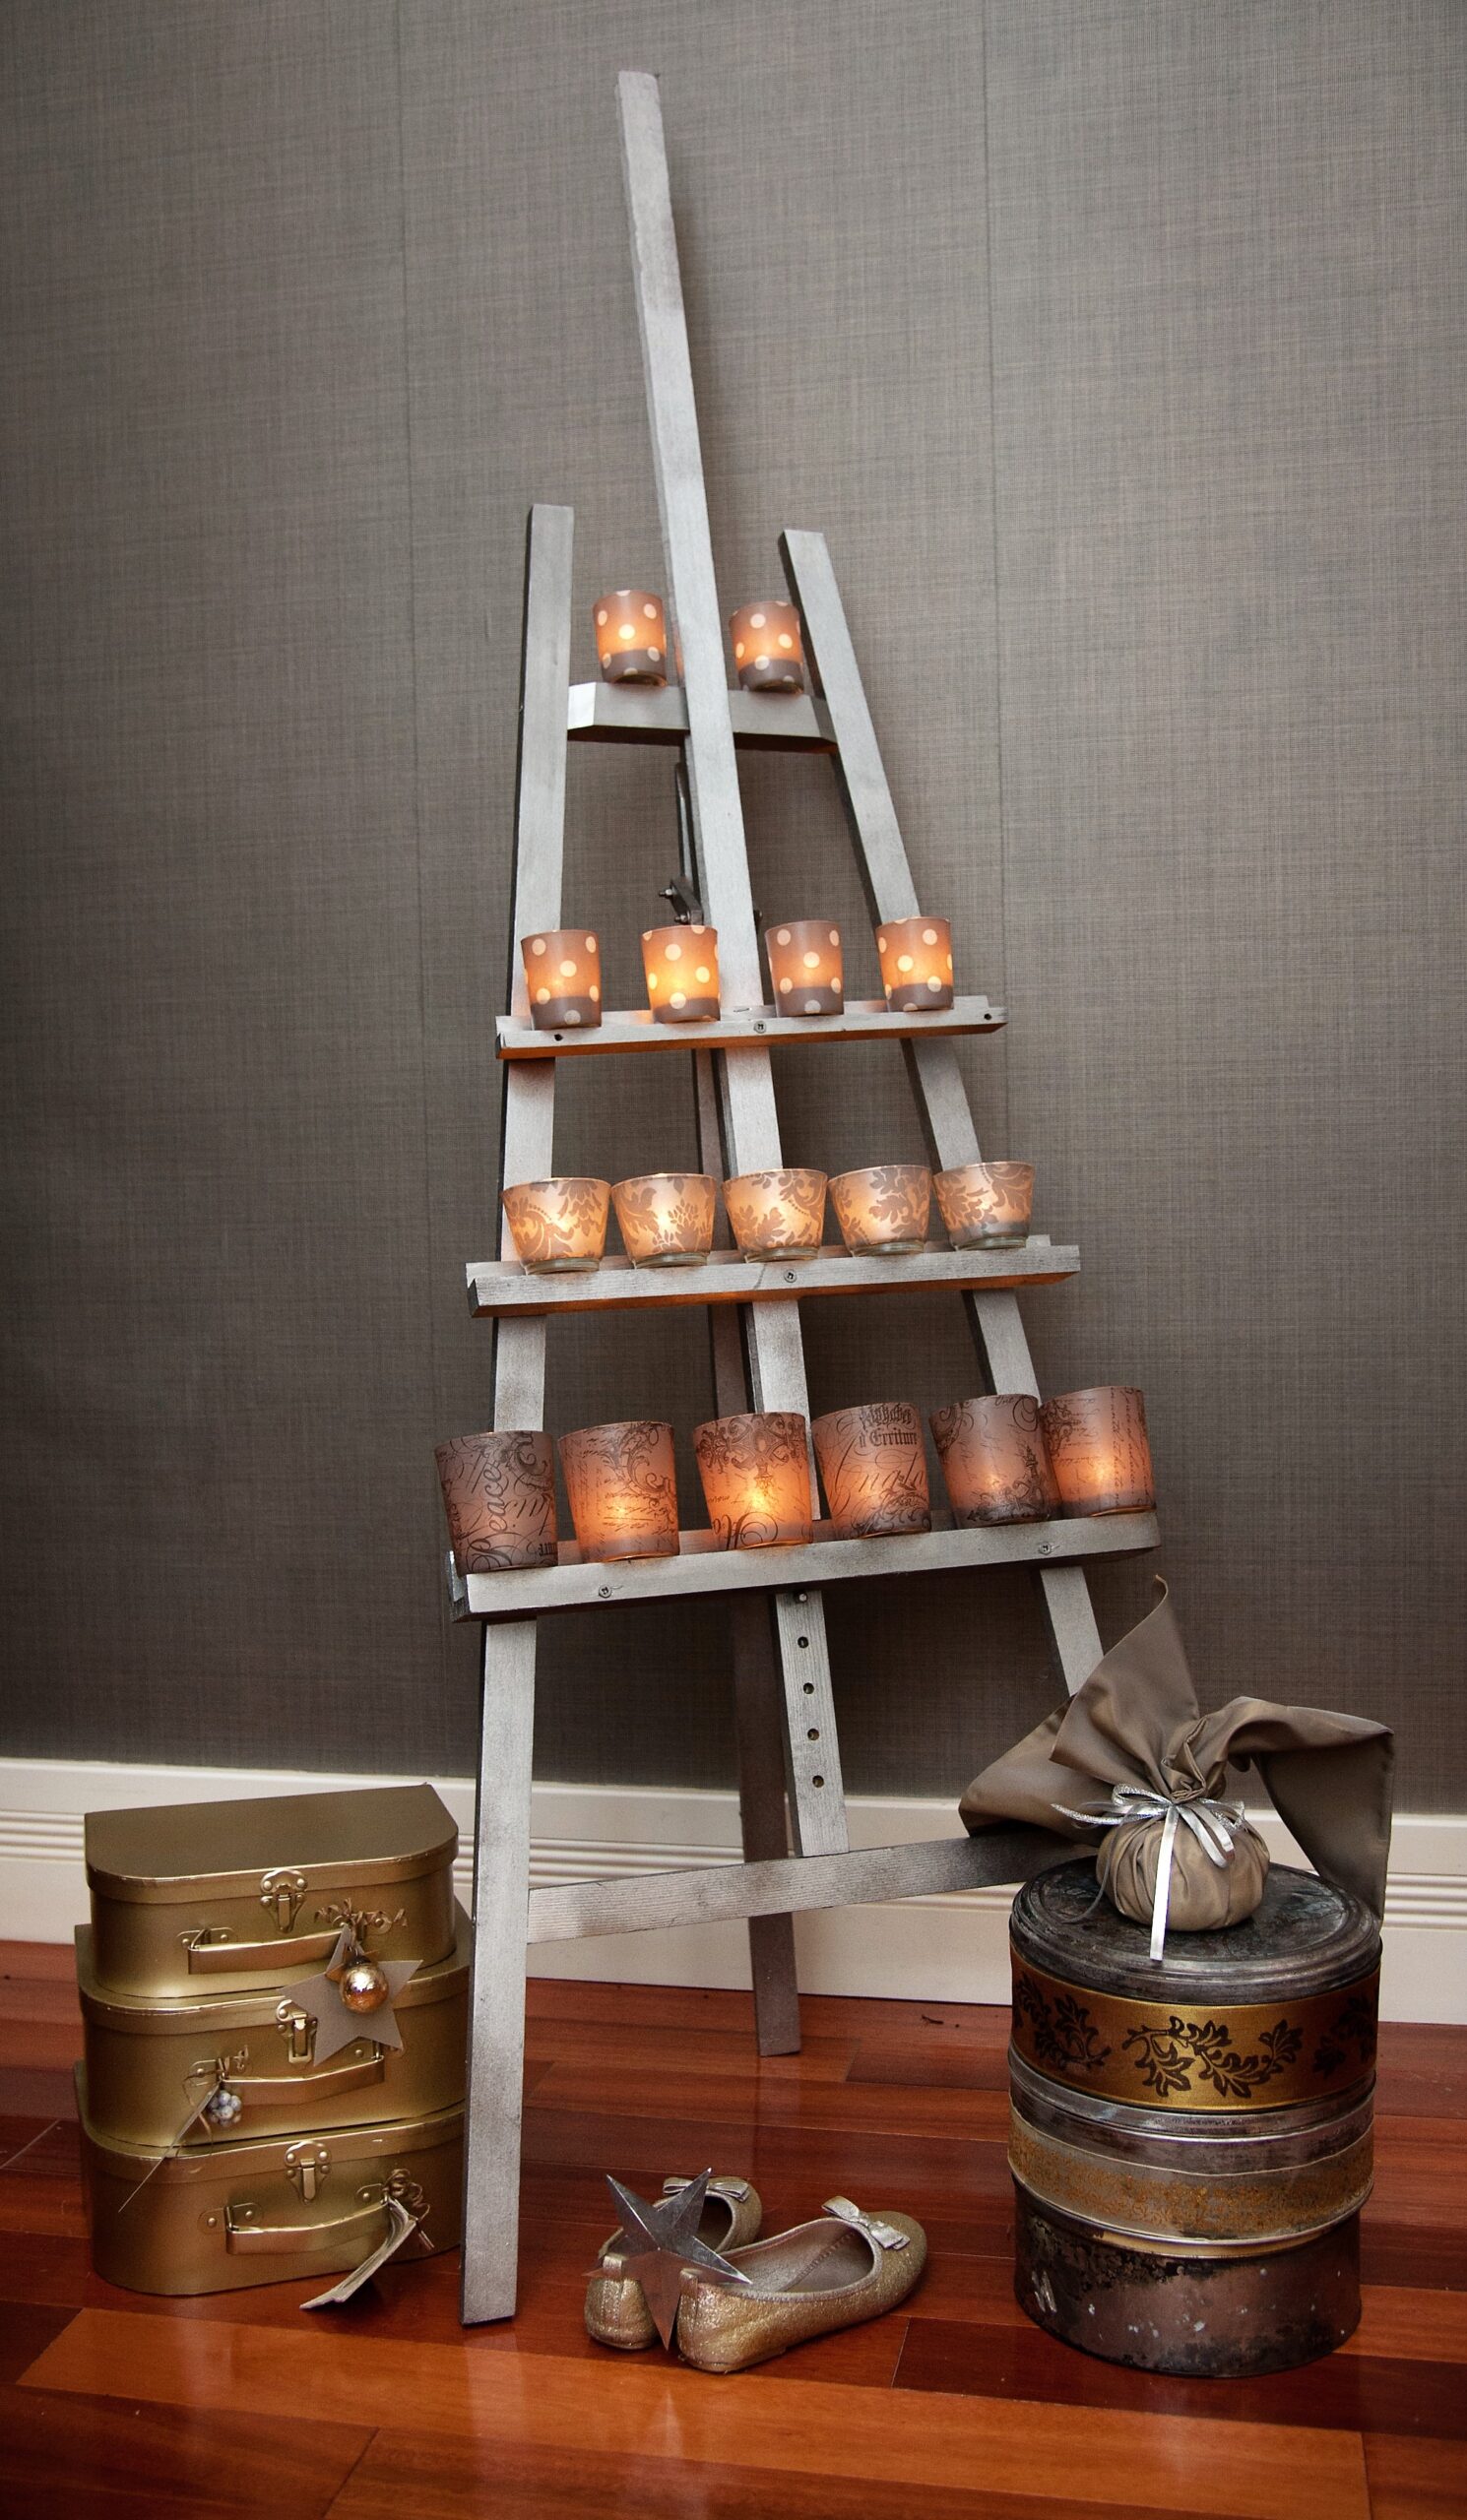
The following recycled items are required:
- Different sized small glasses
- Leftover tissue paper different styles
- An old easel, extra pieces of wood, nails and a hammer
The following items will also be required:
- Sheet of paper (for templates)
- Pencil
- Scissors
- Wallpaper glue
- Damp cloth
- Spray paint for the easel
Method
- Measure the height and circumference of the glass(es) to be decorated. If the glass is tapered, measure the circumference around the rim and around the base. Use the measurements to draw a curved rectangle on the sheet of paper, with the circumference measurement(s) as the length. Alternatively, place the glass on a sheet of paper and draw along the top and the bottom while rolling it across the paper. This will be the template. Do this for all three sizes.
- Use the template and cut out curved rectangles from the tissue paper.
- Paint wallpaper glue onto the outside of your glass(es) with your fingers, then paste the cut paper rectangle onto the glass, decorative side facing out. Remove any air bubbles and excess glue by pressing your fingers from the centre towards the outer edges.
- Place each glass on top of a small cup to elevate it from your work surface and prevent it from sticking to anything. Leave to dry overnight. Continue doing this for all the size glasses
- Use a damp cloth to remove any dry wallpaper glue from the inside or base of the glass(es).
- Nail the extra pieces of wood to the easel to form shelves for the glass votives.
- Place the easel in a good ventilated area and spray paint it. Allow to dry
When everything is dry you can display the votives. Place electric or wax tealights to the inside and admire your unusual but original tree.

Almie Louis
If you get stuck, or need some additional support with this project, please contant Almie: almie@grandrecycler.com
How about making a Reindeer Christmas card with the little ones?
No responses yet